

How Fast To Ad Pages To A Blog
Adding pages (aka: a navigation bar or menu bar) is a great way to organize your blog to make important information easily accessible to your readers.
Designer Blogs offers several types of navigation bars. These navigation bars are customized to give your blog a unique & professional look and can be purchased through our accessories shop.
However, you may just want a basic, non-customized Blogger menu bar, so today we are sharing a tutorial that explains how to get pages and a basic navigation bar added to your Blogger blog all on your own!
Steps for adding pages to your blog:
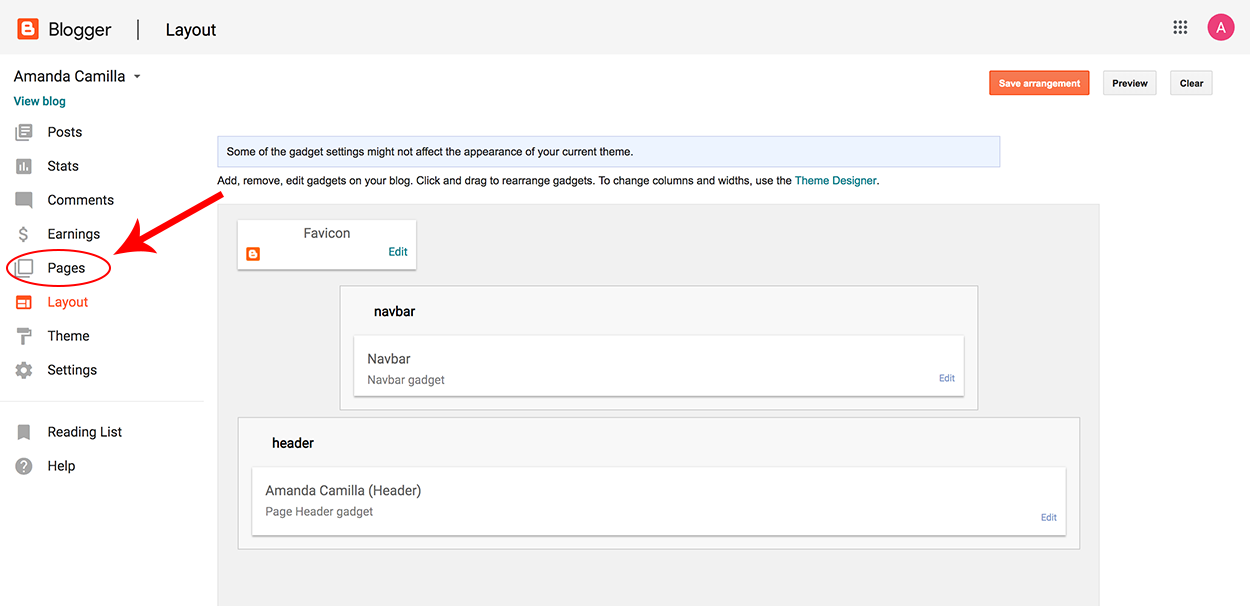
Step 1: Log in to the Blogger blog you are wanting to add pages to and click on the "Pages" link.
Step 2: Click the "New Page" button.

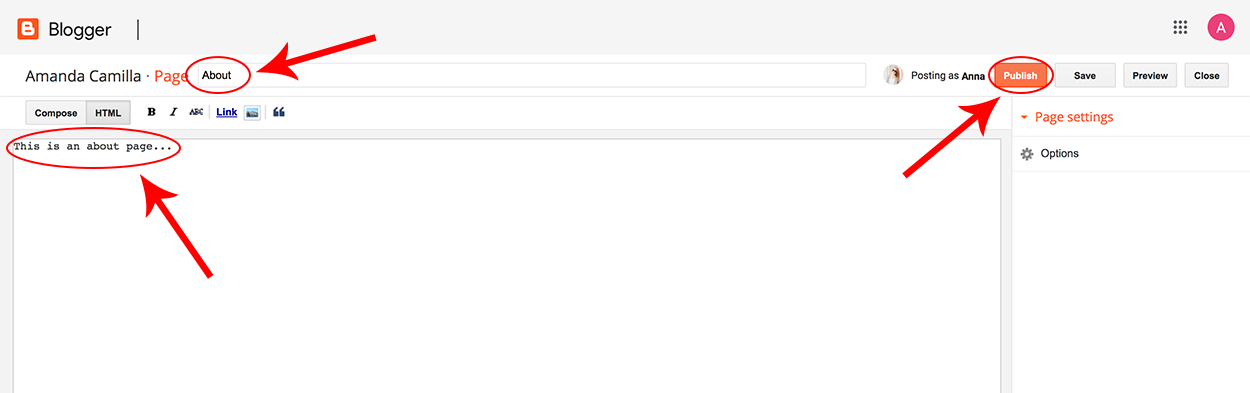
Step 3: Type the page title (this will appear as a link on the navigation bar), add the page content and then click "Publish." Note: make sure the page is published or it will not show on your navigation bar.
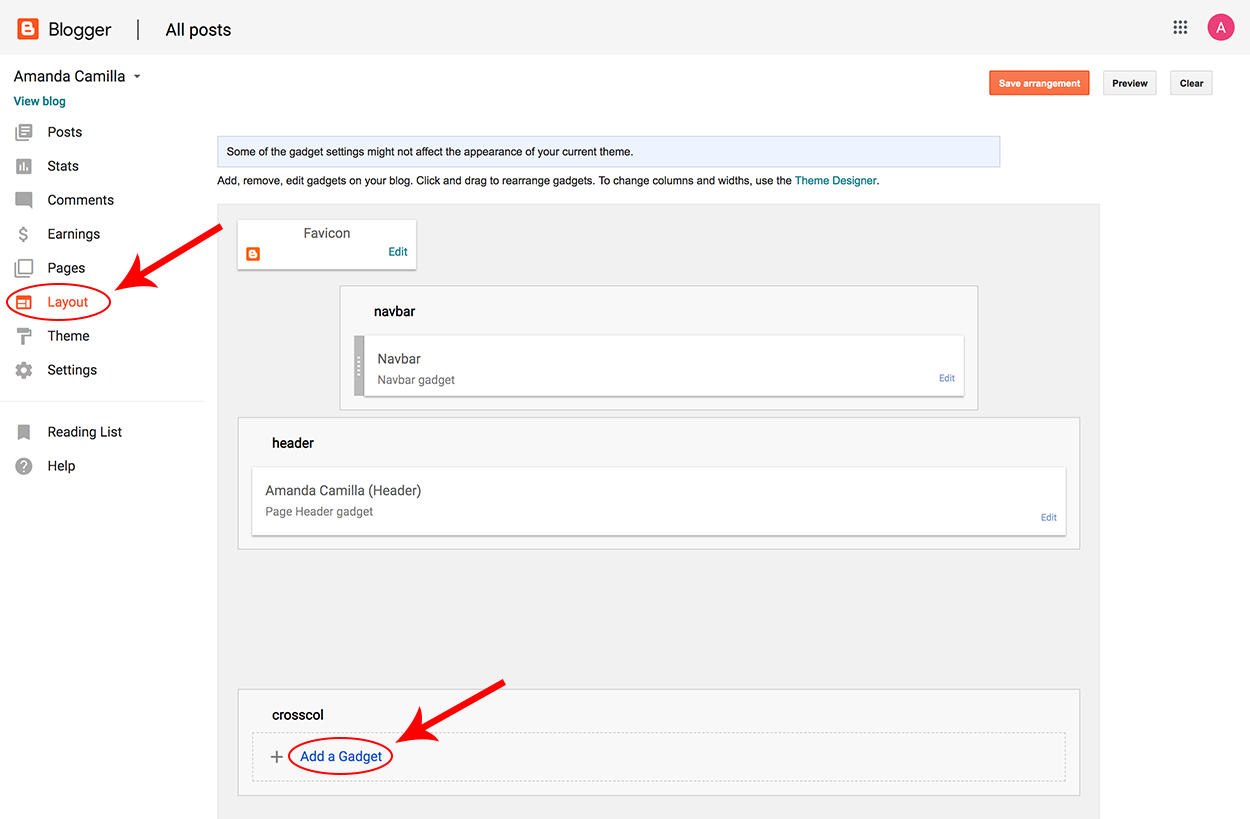
Step 4: After your pages are published, you need to add the Pages gadget to your layout to make the categories appear on your blog. Go back to "Layout" and click on "Add a Gadget" in the space underneath the header. Note: If you want your navigation bar placed on your sidebar, click on "Add a Gadget" in the sidebar space.
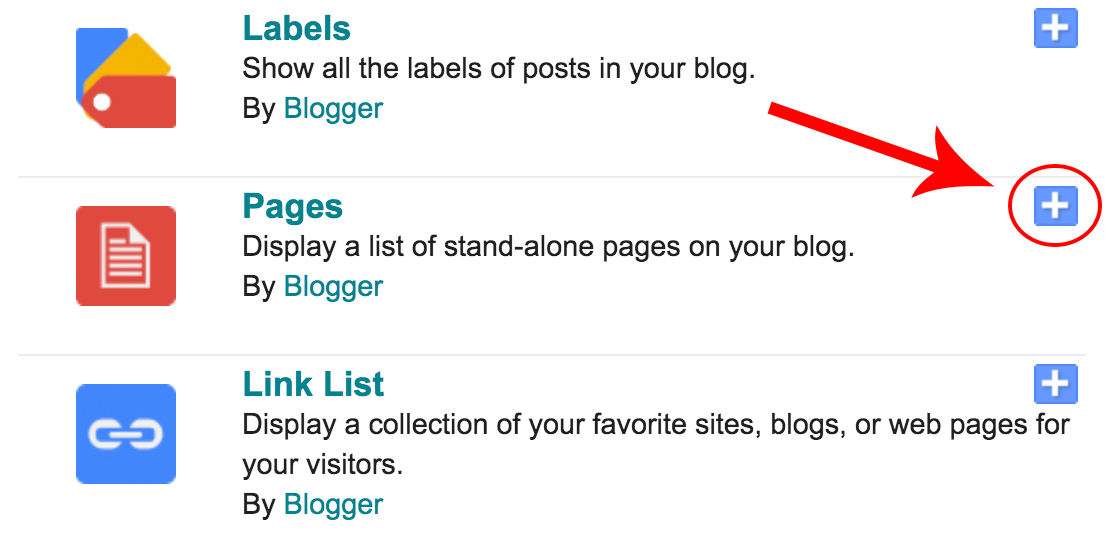
Step 5: Choose "Pages" from the list of gadget options.
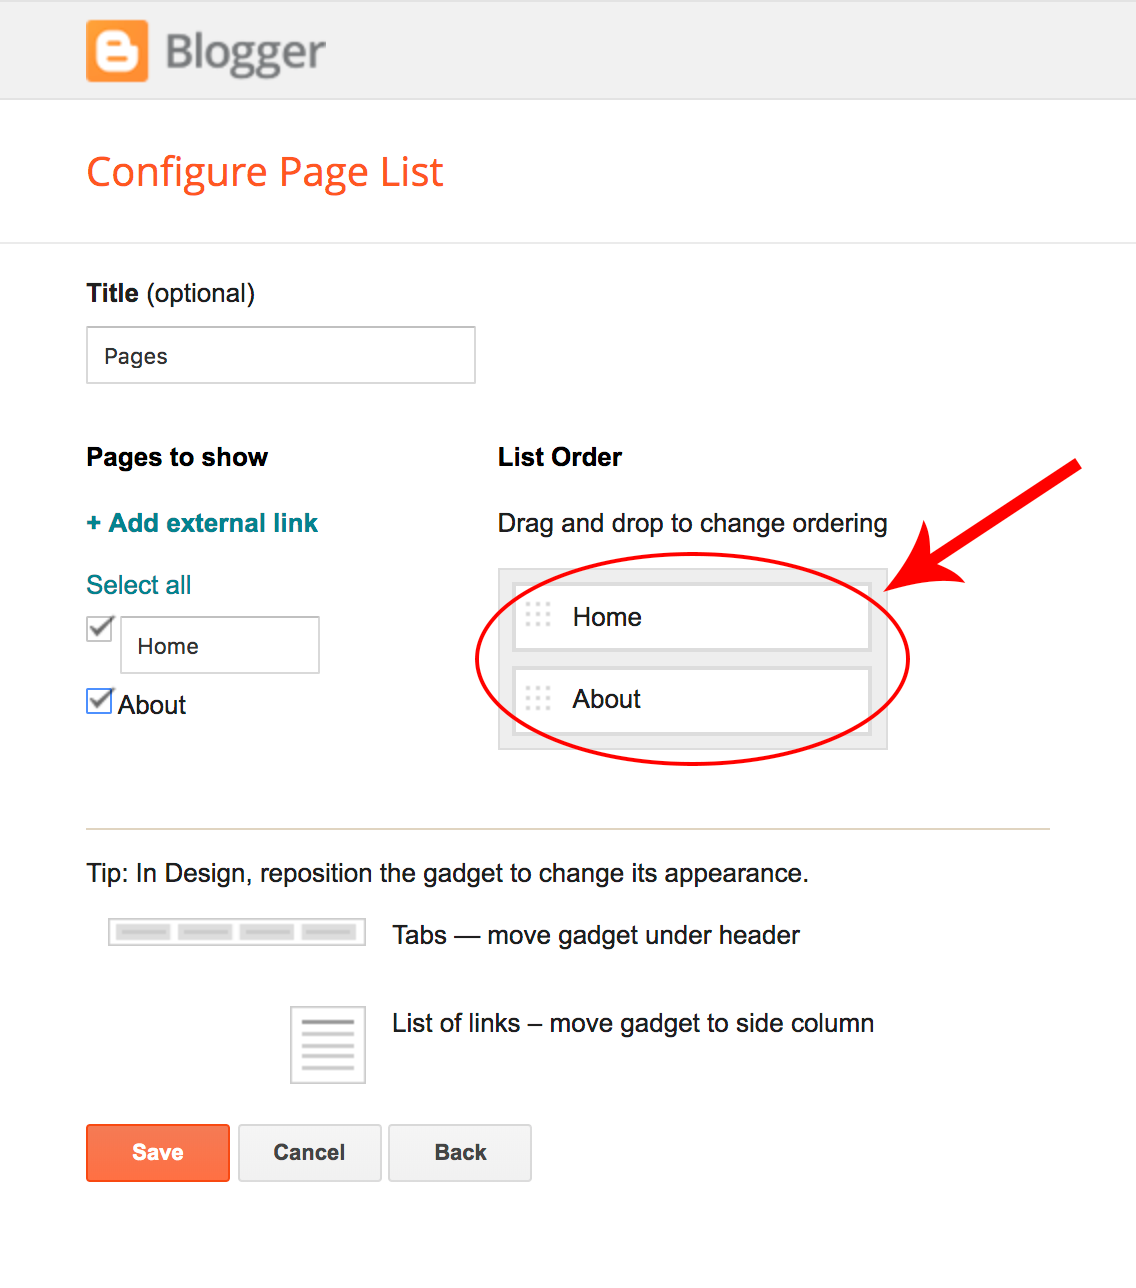
Step 6: Drag and drop your pages to rearrange them in the order you want them to appear and then click "Save."
Adding a web address to your navigation bar:
Step 1: You may want to add some web addresses or links to labels along with your blank pages. Click on the "Pages" gadget and choose "+ Add external link."

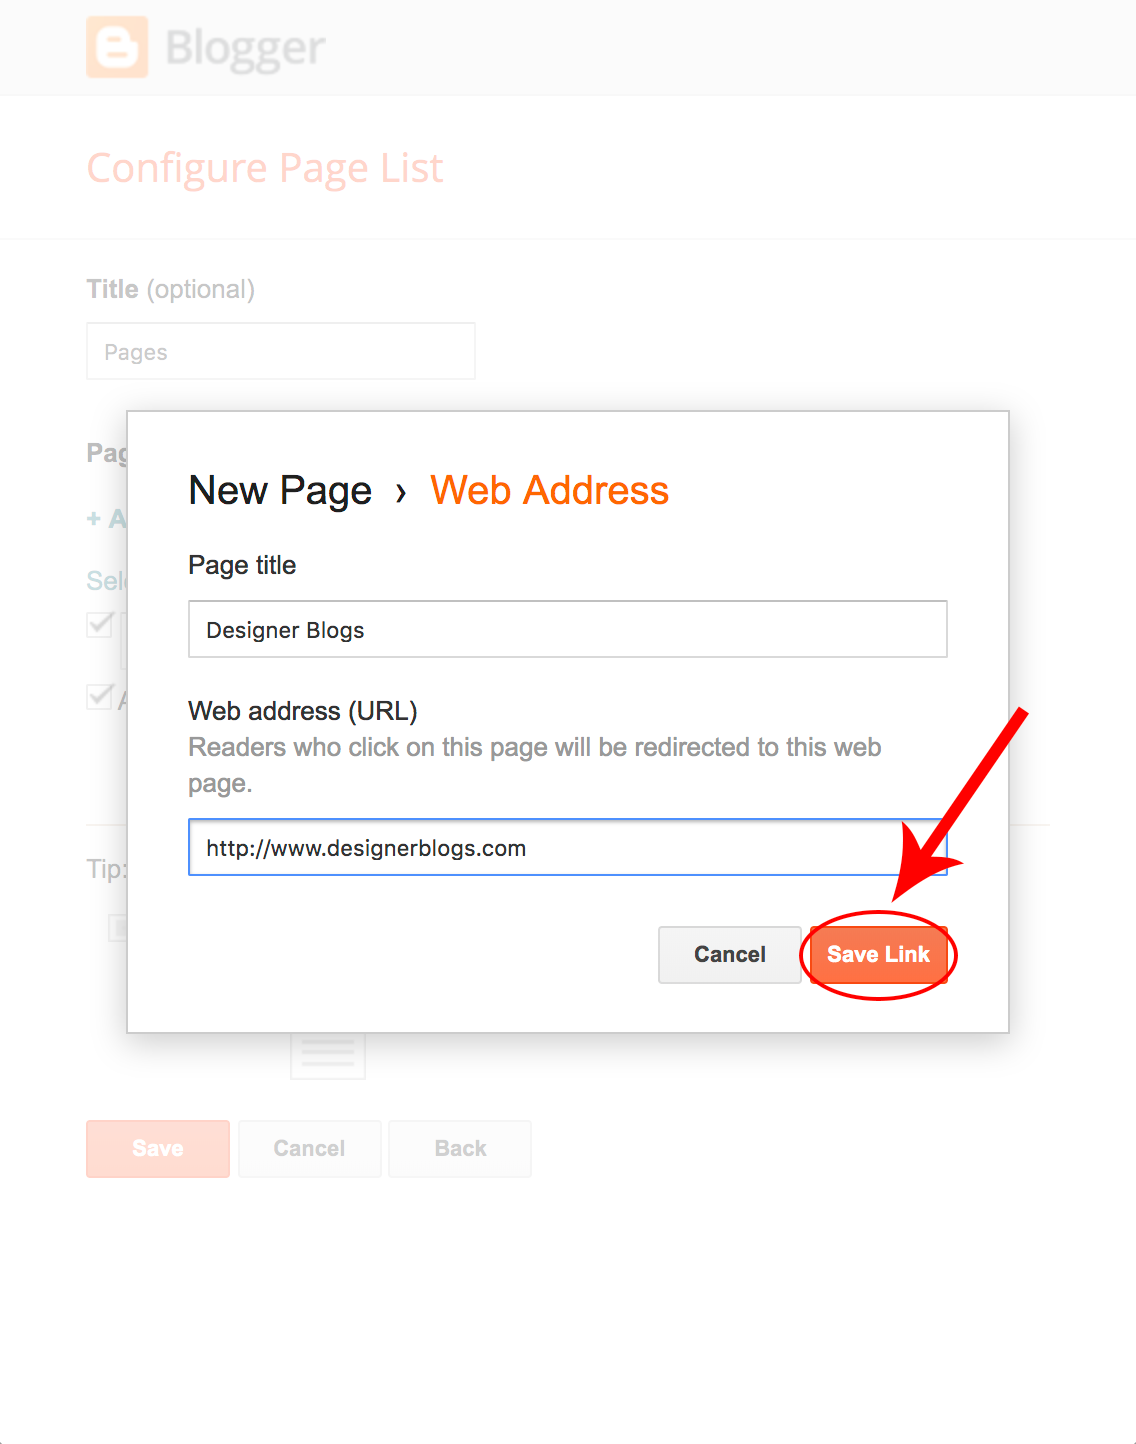
Step 2: In the first box, type the title you want to appear in the navigation bar. In the Web address (URL) box, insert the web address you want to link to. Then click "Save."
Now view your blog to see your new pages and navigation bar!

RELATED POST: How to Link a Menu Bar Link to a Label or Category
If you have a blog template with a left aligned navigation menu and you would like to adjust the positioning of the links, follow the below steps.
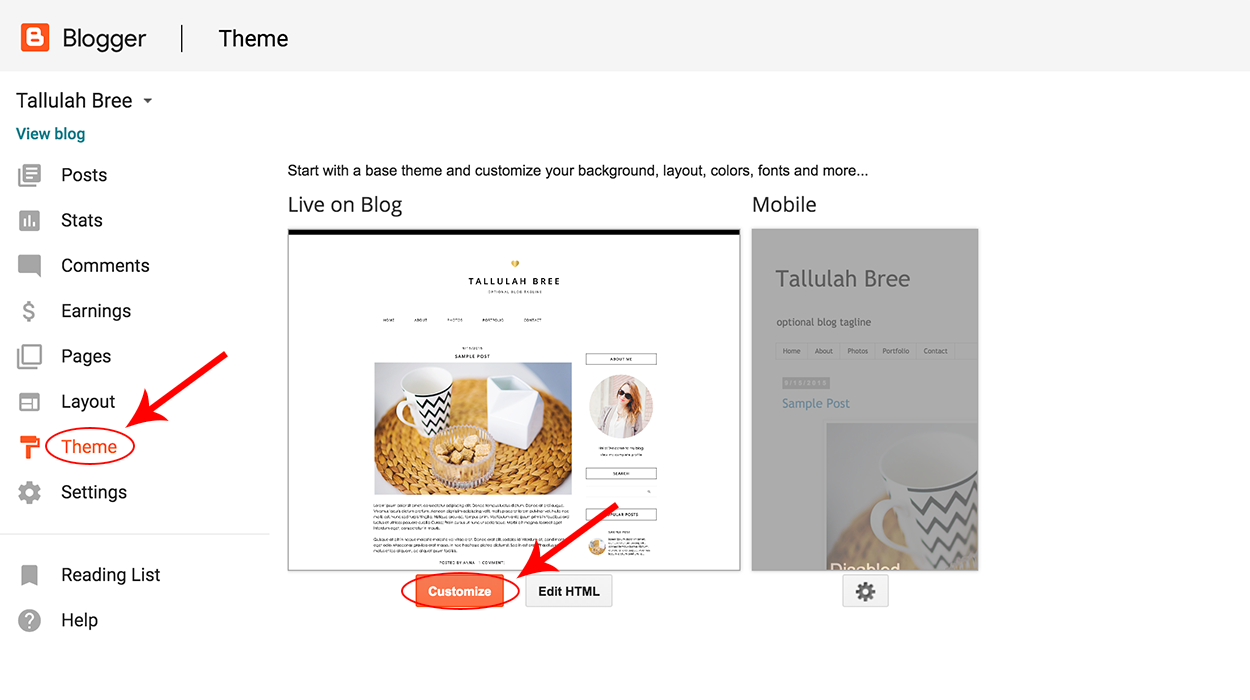
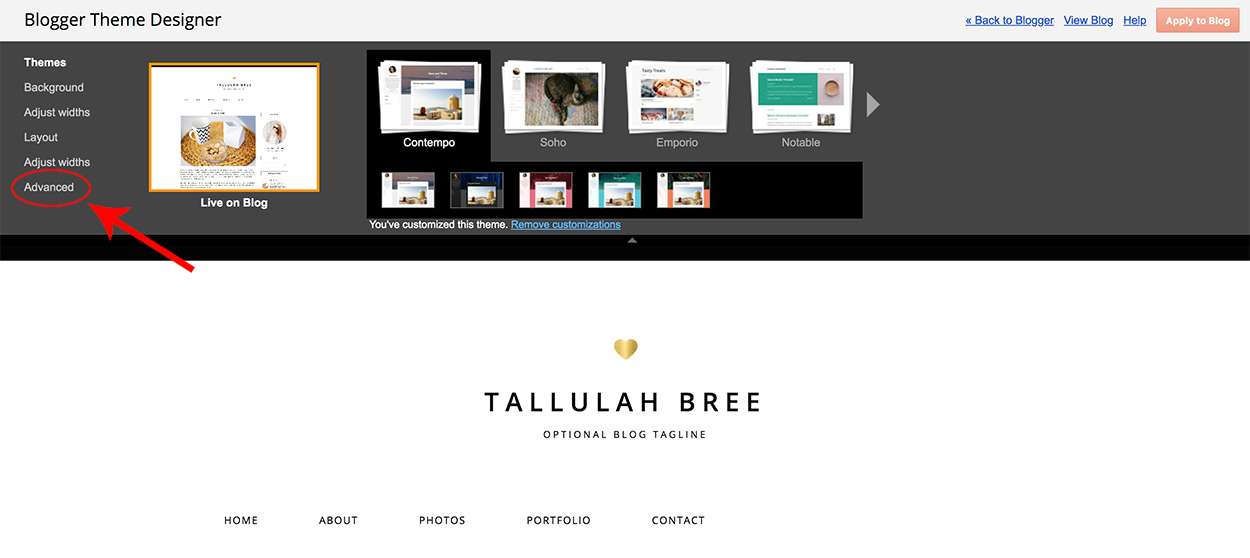
Step 1: In your dashboard, click on the "Theme" link and then click on "Customize."
Step 2: In the Blogger Theme Designer click on "Advanced."
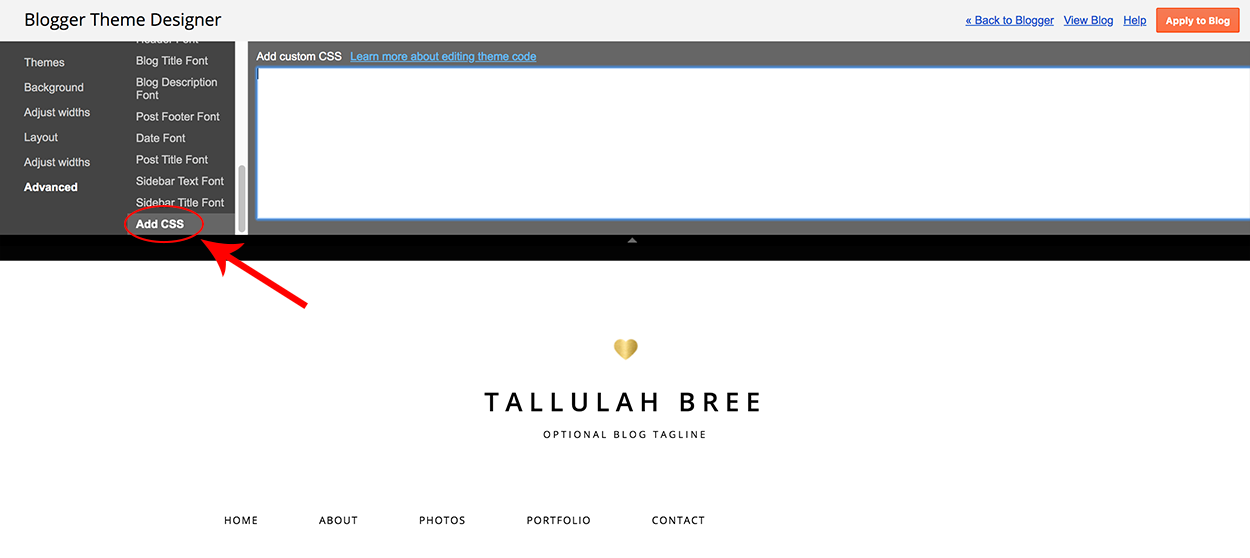
Step 3: In the "Advanced" tab, scroll down until you find "Add CSS."
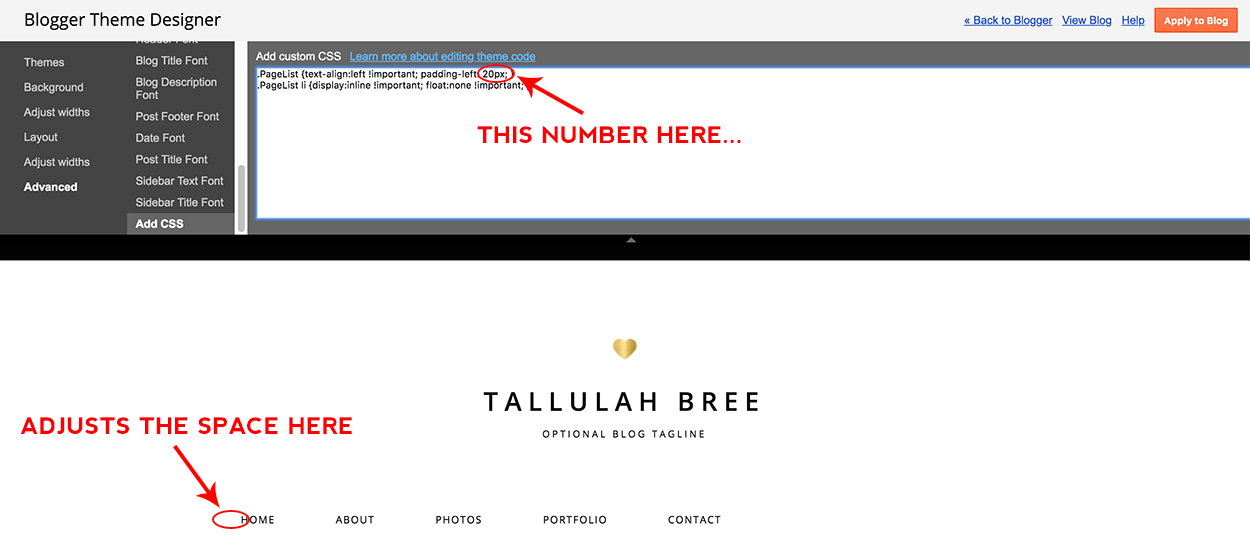
To add more space to the left side of the navigation bar, add the following code:
.PageList {text-align:left !important; padding-left: 20px; }
              .PageList li {display:inline !important; float:none !important; }
You will see a preview of how the design will look with the changes. If you adjust the "20" to a larger number it will add more space. If you want less space adjust the "20" to a smaller number. Adjust it as you want and then click "Apply to Blog" to save the changes.
Example:
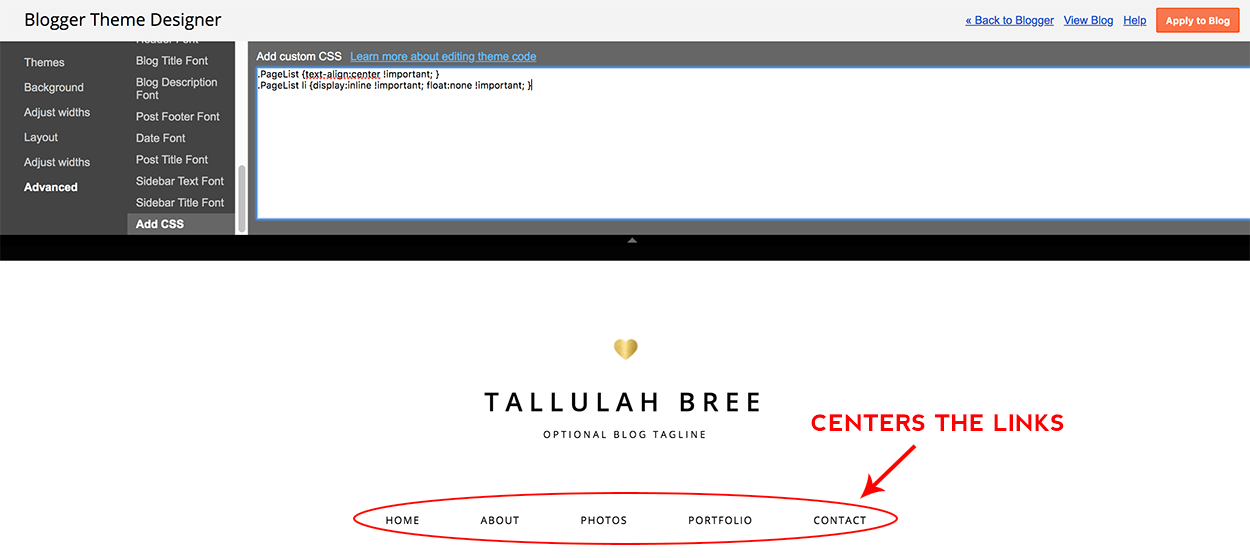
To center the links, add the following code:
.PageList {text-align:center !important; }
              .PageList li {display:inline !important; float:none !important; }
You'll see a preview of the changes. If you are happy with the way it looks, click "Apply to Blog" to save the changes.
Example:
For any further customizations you might need made to your navigation bar, you can visit our add-on shop to purchase one of our navigation bar options.
Please feel free to leave a comment or contact us at [email protected] with any questions you may have.
Related posts:
How Fast To Ad Pages To A Blog
Source: https://www.designerblogs.com/adding-pages-to-your-blog/
Posted by: ottvoymaiden.blogspot.com
0 Response to "How Fast To Ad Pages To A Blog"
Post a Comment